
Administrator access or higher is required to complete this guide.
Connect IoT Sensors
We currently support integrations with sensors from:
Is your sensor provider not on the list?
Anyone can connect to Runwell through our open API. Feel free to recommend Runwell to your sensor provider!
Go to Organization Settings → Integrations and select your provider.
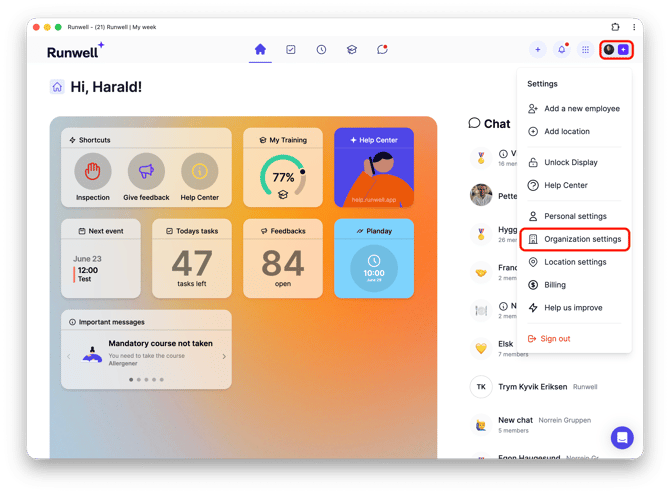

2. Connect a location. Select the location where you want to add sensors, then click Connect IoT Devices or the Add button.
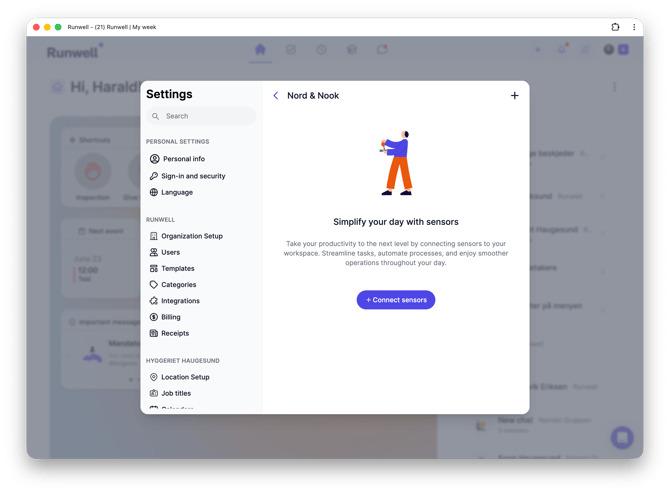
3. Enter your Project ID and Token
To obtain your Project ID and Token:
- Temperaturvakt.no: You can find both directly in the Temperaturvakt portal. If they are not visible, contact post@temperaturvakt.no.

- Recasoft.no: Conctact support@recasoft.no
- Airthings: Contact your account representative.
- Disruptive Technologies: Contact your account representative.
- Sensius: Contact your account representative.
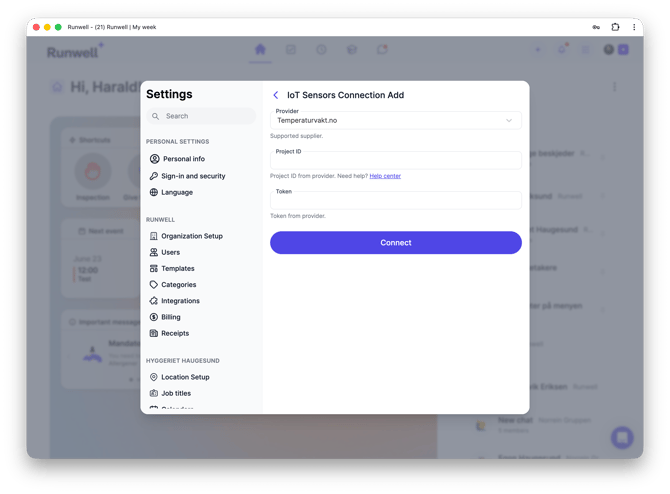
For each sensor, you can:
- Change its name
- Specify its location
- View its current status and performance
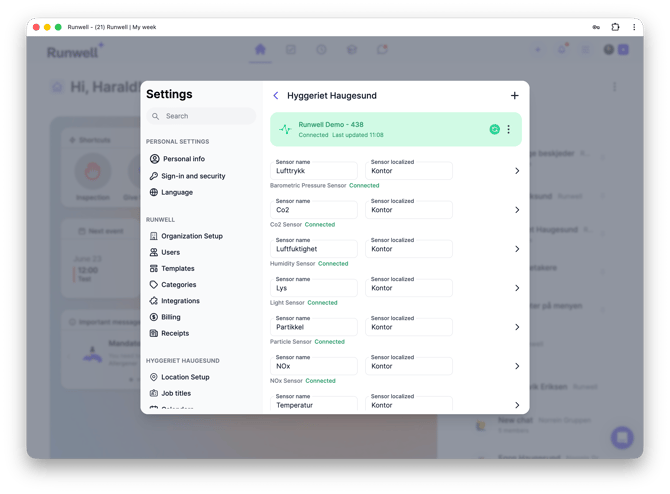
Using Sensors for Temperature Monitoring
Although the sensors can be used for many different purposes, they are most commonly used to monitor refrigerator and freezer temperatures.
Here’s how
1. Create a new Number Task.
2. Assign a sensor. Under Assign to, select the sensor you want to use.
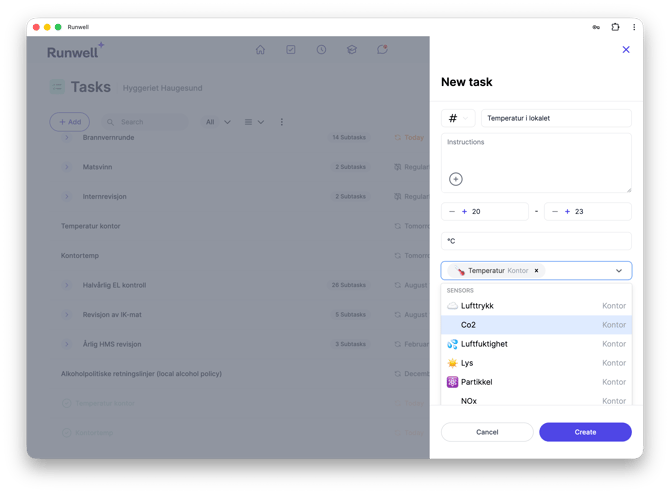
3. Configure the task.
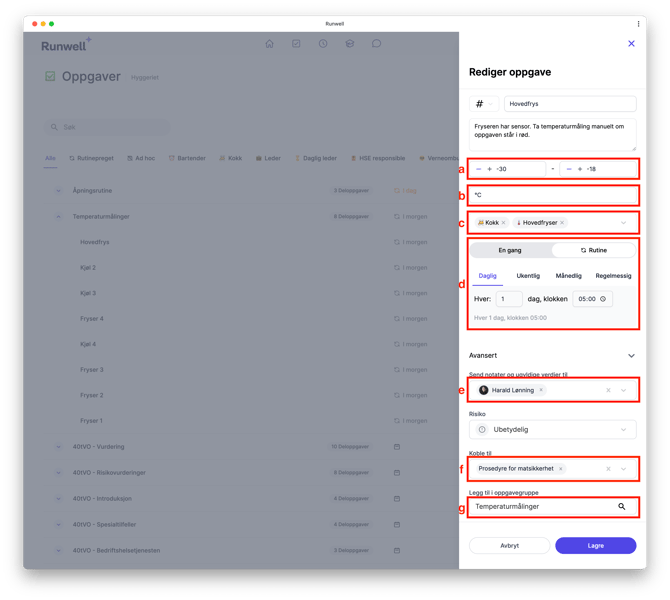
When you select a sensor, fields a) and b) are automatically populated with the sensor’s threshold values and measurement units. You can adjust these values to suit your own requirements so that alerts are triggered whenever readings fall outside your defined limits.
We also recommend assigning the chef to the task in c) together with the sensor. If the sensor stops reporting, the task will appear in red in the chef’s task list, allowing the temperature to be checked manually.
If you would like to receive notifications from Runwell, in addition to those provided by your sensor supplier, enter the name of the person who should receive notifications in e). That person will receive a push notification if the recorded value falls outside the thresholds defined in a) or if the task is not completed.
In d), choose how often and at what time the task should be performed. The sensor records data continuously, while the task itself is completed at most once per day. You can view the live sensor readings at any time if needed.
If you link the task to your food safety procedures in f), the recorded measurements will be available through the inspection view during audits. We also recommend placing all temperature monitoring tasks into a task group to keep everything organized. This can be done in g).
4. Add manual spot checks
We also recommend including occasional manual spot checks. These can be added to the same task group as the automated temperature monitoring tasks and assigned to the employees responsible for carrying them out.